
Disclaimer: This blog post may contain affiliate links. If you click on one and make a purchase, I will make a small commission, at no extra cost to you. These are products I’ve personally used and stand behind, learn more.
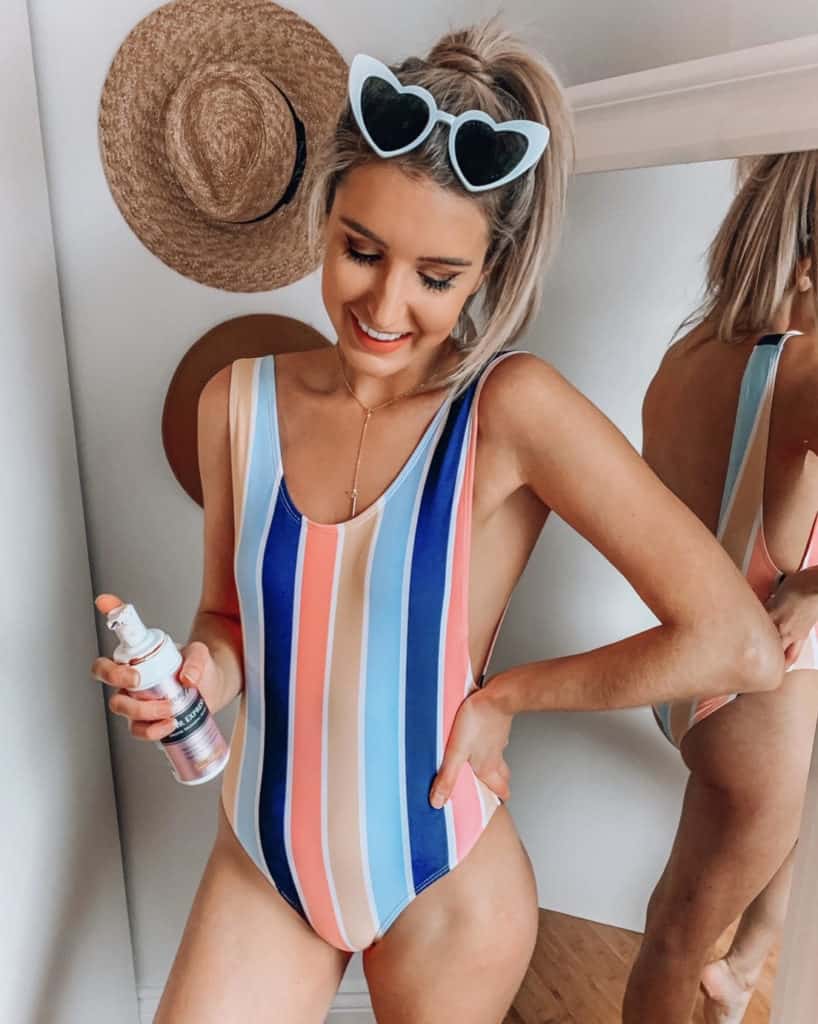
Today on Prada & Pearls I’m sharing my at home sunless tanning routine! I’m huge about protecting my skin from sun damage, especially the older I get. I rarely go out in the sun anymore, but I still want a bronze glow! That’s why I self tan at home or get spray tans! I totally know first hand how confusing self tanning can be since there’s a couple steps involved! Today I’m going through everything I do to achieve a sunless tan and make sure it lasts!
My Sunless Tanning Routine
Step 1: Exfoliate & Skin Prep
This is the most important step to do before sunless tanning. You MUST exfoliate! Our skin is constantly shedding (gross I know!). Since your sunless tan is going to sit on top of your skin, exfoliation helps remove the top layer of dead skin cells. That way, your tan can sit on skin that’s not quite ready to come off. Exfoliation also helps get off any old tanner that’s lingering so you get an even tan.
Products I use to Exfoliate:
- Razor – I always shave before sunless tanning, usually 24 hours before to give my skin time to heal! Click for the razors I use
- Scrub – I use a scrub in the shower 24 hours before tanning! Click here for a popular natural one
- Loofah – I use a Loofah leading up to self tanning! Helps to naturally exfoliate your skin! Click here for some affordable ones
Step 2: Moisturize dry areas
Next step is to moisturize your dry areas. When you apply sunless tanner, if your skin is dry, the tanner will stick to those areas and turn darker. I apply moisturizer to my ankles, knee caps, elbows, hands and feet! The areas you want to apply moisturizer to will depend on your skin!

Step 3: Apply the Self Tanner
My Tanner
I use the Loving Tan 2 Hour Express in “Dark”. First off, I’m not affiliated with Loving Tan, I buy their tanner with my own money because I seriously LOVE IT. I personally like the 2 hour express dark because you only have to leave it on for 2 hours and then you can wash it off. It will then develop over the next 14 hours. Don’t be alarmed if you don’t notice a tan right away after washing off. Once 14 hours has passed you will be extremely tanned! The tanner also has a color indicator meaning the tanner goes on dark so you can see where you have applied it.
I’ve tried a ton of tanners and Loving Tan is the most natural one I have ever found. It has brown undertones instead of green, orange or red which gives you a more natural looking tan!
How to apply
I use a tanning mit to apply (click here for an inexpensive one): Tanning Mit
For my back, if I can’t get Chris (my boyfriend) to help me I use this: Back Tanning tool
I apply the tanner in circular motions. The color indicator makes it easy to see where you’ve applied it! Also be careful around your hands, elbows, knee caps and feet! I apply “leftover” tanner to those areas. Meaning, I’ll apply tanner to a large area like a leg or an arm, then whatever is left on the glove I apply to hands and feet!
My Face
I personally don’t apply this tanner to my face. I have a pretty intense skincare routine that I don’t want to mess up! I just buy a shade darker in foundation and it works like a charm.
Step 4: Let it sit
Okay now you wait! I recommend putting on loose fitting black clothing. Loving tan drys 90 seconds after application, however to avoid transfer I always wear loose clothing! I wash the 2 hour express off after 2 hours for a natural tan. You can however, leave on for longer if you would like (it will give you a darker tan the longer it’s left on).
Step 5: Moisturize and avoid Exfoliation
Now that you have a tan you need to keep you skin moisturized!
I apply this body lotion daily to keep my tan:
Also avoid exfoliation! Again, while you have a tan you don’t want to remove more skin. So don’t use a loofa and “pat dry” with a towel!
Step 6: Use gradual tanning drops to prolong your tan
If you want your tan to last longer I recommend adding tanning drops into your daily moisturizer! You can also add these into your face moisturizer if you want a face tan. I recommend these ones:
FAQ/ Quick Links:
1) How do you apply tanner to your back?
If Chris can’t help me, I use this back applicator tool (it works so well): Back tanner applicator
2) How long does the bottle last
My bottle typically lasts 6-8 tans. Again, depends on your body type and how much tanner you use! The color corrector helps show where you’ve applied tanner so don’t double up anywhere!
3) How long does your tan last
I can typically get my tan to last 1.5 – 2 weeks! As long as I follow Steps 5 and 6 above! It’s all about the after care! You determine how long your tan will last for!
4) How long does your self tanner stay good for
Tanner typically stays good for 6 months then you need to toss. Bottles that are older than 6 months start to turn green and you won’t get a natural looking tan! Also keep your tanning bottles out of the sun and away from heat!
I hope you enjoyed this post on my sunless tanning routine! Let me know in the comments below if you have any additional questions or if you give this a try yourself!
Read this next!
Best Vitamin C Serum For Hyperpigmentation
